

Photo by Dex Ezekiel on Unsplash
A Step-By-Step Guide to Building an API in Django
Simple API in Django to return anime list


This tutorial will teach you how to set up a Django project and create an API that will return the anime list.
API is a middle man between two apps. It allows one app to use the features of another app. For example, an API can be used to allow a social media platform to access a user’s location data from their phone.
APIs are used to connect different pieces of software and allow them to communicate with one another. They can also be used to make a piece of software interact with something else, like a database or web page. In general, project A and project B can be connected through an API .
An API can be used to create projects in different domains. For example, an API can be used by an online retailer to give them access to customer data from their website.
The definition of An application programming interface ( API) by Wikipedia is a connection between computers or between computer programs. It is a type of software interface, offering a service to other pieces of software.
When interacting with the API, we send requests and get responses. The request are of different types:
C - create (POST) R - Read (GET) U - Update (PUT) D - Delete(DELETE)
In this tutorial, we will create an API that will return a simple JSON response and I will write a separate article on creating each of the above methods.
1. Setup Django Project
Django is a Python web framework that is designed for rapid development of high-quality web applications. It is free and open source software under the BSD license.
Django's primary distinguishing features are its "batteries included" approach to web development, which includes many things that are typically hard or time consuming to build from scratch such as user authentication, database access, caching support and more; its emphasis on readability; and its use of Python as an implementation language. You may learn Django from its documentation here
For now we only need Django and a code editor (I'm using Vscode) to work on this project.
i. Create a folder to work on this project.
ii. Inside the folder you just created, create a virtual environment. To create a virtual environment, open the terminal inside this folder and enter:
$ python -m venv env
iii. Activate the virtual environment and install Django
$ env\Scripts\activate
$ pip install Django
iv. Create the project :
Since we are creating an anime list API, we will create a project called animelist:
$ django-admin startproject animelist

$ cd animelist
ii. Create app inside our project
Generally if we need to add any feature or if we need to do anything in Django, we need to create apps. So complete projects are divided into multiple apps. Let us create our first app using following command:
$ python manage.py startapp animelist_app
Add the app inside the INSTALLED_APPS list in settings.py
INSTALLED_APPS = [
    'django.contrib.admin',
    'django.contrib.auth',
    'django.contrib.contenttypes',
    'django.contrib.sessions',
    'django.contrib.messages',
    'django.contrib.staticfiles',
    'animelist_app',
]
We will test our project to see if we can see the default page of Django project:
$ python manage.py runserver
2. Create Django Models
Creating models in Django is an important step for any developer. It's the first step of creating a database in Django and it's also the first step for creating a web application.
Django models are classes that represent database tables. They are used to create, read, update and delete data from the tables.
In this tutorial, we will create one API model for an anime list.
i. When the Django project is first created, several migrations need to be performed. We can do this by running following command:
$ python manage.py migrate
ii. Create superuser by providing the details when running the following command:
$ python manage.py createsuperuser
Now, try accessing the Django admin interface by running the server:
$ python manage.py runserver
Visit: 127.0.0.1:8000/admin
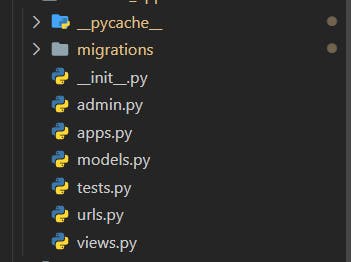
iii. Create urls.py file inside the animelist_app folder:
Django follows something called MVT architecture which are model (database), view, templates and the urls in Django will tell us which endpoints to hit to get the information or it specifies the paths inside the project.
iv. Create a model inside the models.py file. In the following code, we want to create a database table called Anime:
class Anime(models.Model):
    name = models.CharField(max_length=50)
    description = models.CharField(max_length=200)
    active = models.BooleanField(default=True)


    def __str__(self):
        return self.name
v. Since we have added to our model we need to make migrations:
$ python manage.py makemigrations
One of the amazing features in Django is that it supports ORM (Object-Relational Mapper) which enables us to interact with our databases like we would with SQL queries. The fact that it is just a pythonical way of creating SQL queries, manipulating databases and getting results, it is easier that the developer need not write any SQL since ORM automates this work. Run the following command to create the database.
$ python manage.py migrate
vi. Register the model in admin.py
from animelist_app.models import Anime

admin.site.register(Anime)
Run the server and try to add some animes to the database from the admin interface at
3. Creating JSON response
i. Here we convert the query set (objects) of Django models into python dictionary and then into JSON
from animelist_app.models import Anime
from django.http import JsonResponse

def anime_list(request):
    animes= Anime.objects.all()

    # print(list(animes.values()))

    data = {
        'animes': list(animes.values())
    }

    return JsonResponse(data)
This will return the JsonResponse ... we can check if it is in JSON by checking if the data is in double quotes (single quotes are changed to double in JSON), capital T for True in the dictionary is changed to small t in JSON.
2/ Create a link for the view above in urls.py
urls.py inside animelist:
from django.contrib import admin
from django.urls import path, include

urlpatterns = [
    path('admin/', admin.site.urls),
    path('anime/', include('animelist_app.urls')),
]
urls.py inside animelist_app:
from django.urls import path
from animelist_app.views import anime_list

urlpatterns = [
    path('list/', anime_list, name = 'anime-list'),
]
Check the results at 127.0.0.1:8000/anime/list
4. Create view for single data
i. Create a view to return single element or details of single anime
# return individual elements
def anime_details(request, pk):
    anime= Anime.objects.get(pk=pk)

    data = {
        'name': anime.name,
        'description': anime.description,
        'active': anime.active
    }

    # print(anime.name)

    return JsonResponse(data) # convert to json
ii. Add url inside the urls.py file of animelist_app :
from animelist_app.views import anime_list, anime_details

urlpatterns = [
    path('list/', anime_list, name = 'anime-list'),
    path('<int:pk>', anime_details, name='anime-detail'),
]
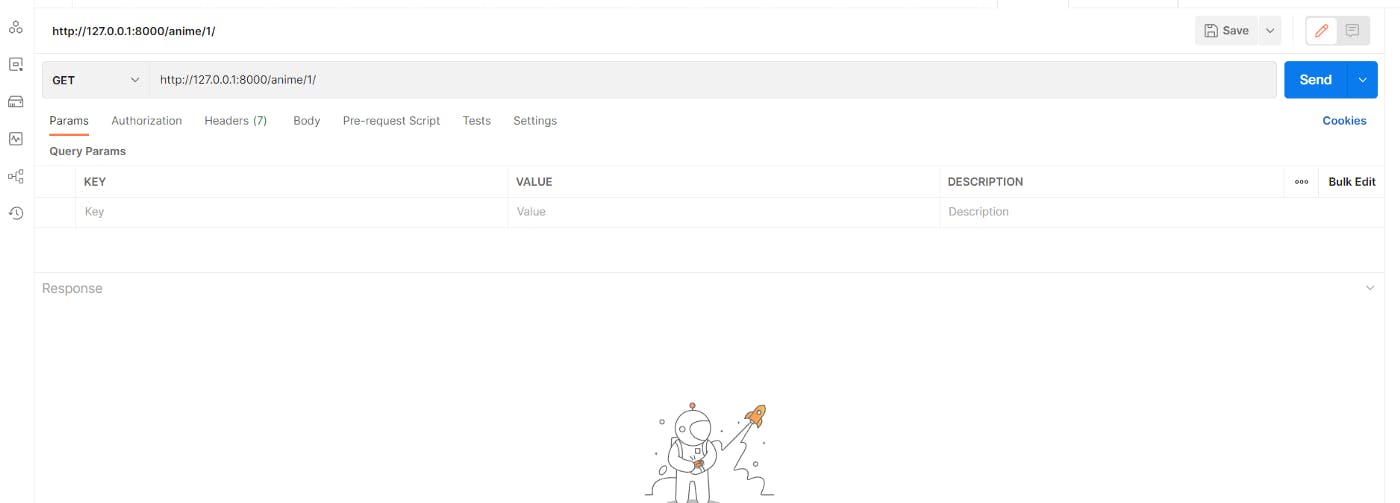
Test the API by visiting: 127.0.0.1:8000/anime/1
Until now we have created a JSON response by converting the python dictionary data from our model JSON. This is going to be a lot of work when we have a large number of objects to be converted, during that time we might choose to use the Django rest framework where we can convert to JSON with something called serializations.
5. Testing API Endpoints Using Postman
API testing is essential to the development process. Postman is a great tool for API testing. It can be used to generate and test API endpoints. You can also use it to test your API by generating and sending different requests, as well as checking the responses for errors and other potential problems.
If you don't have Postman, you may download it from here
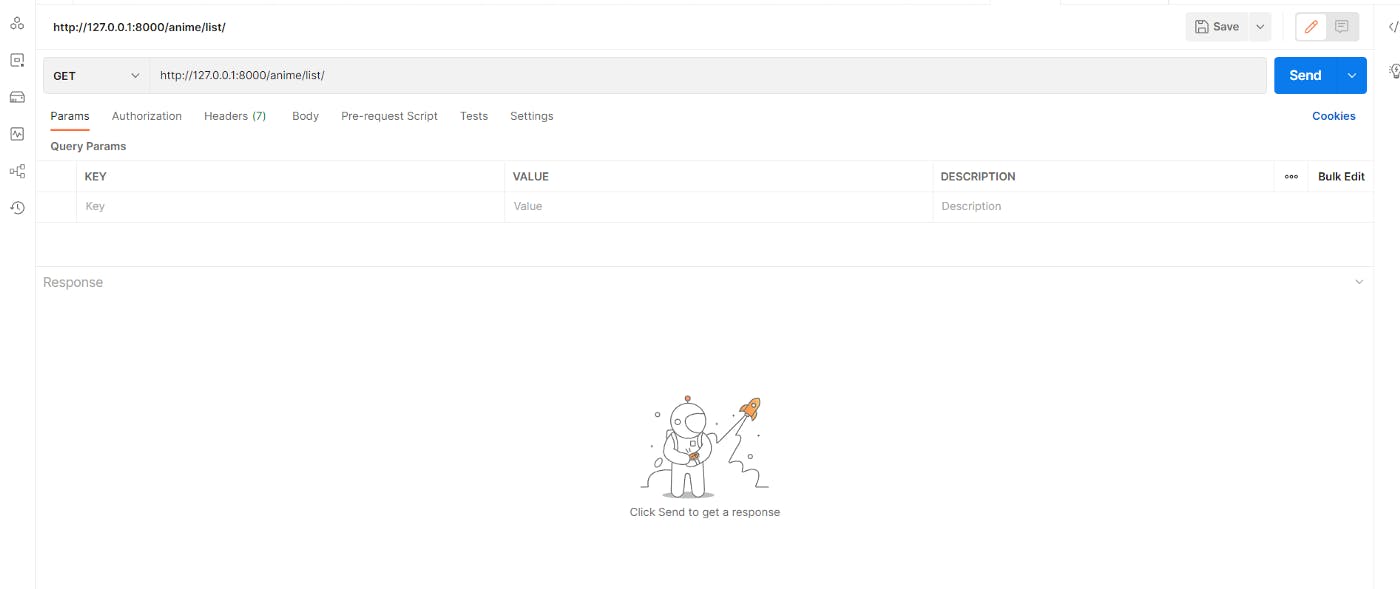
Since we have only two endpoints to test our API, select the GET method from the left and paste the endpoint as follows. Click on send to check the response
First endpoint: Get animelist response
Second endpoint: Get single anime detail
Conclusion:
In this tutorial, we went over the process of building an anime list API with Django.