


This post shows how to create a weather app using Weather API which gives us the real-time weather data. We will use Django backend framework.
1/ Create weather project
$ django-admin startproject weather
2/ Navigate inside weather
$ cd weather
3/ Start the server to check whether the server is running or not
$ python manage.py runserver
- Enter http://127.0.0.1:800/ in the browser
Press ctrl + c to stop server.
4/ Create an app called 'main' inside the project which is by typing the command:
$ python manage.py startapp main
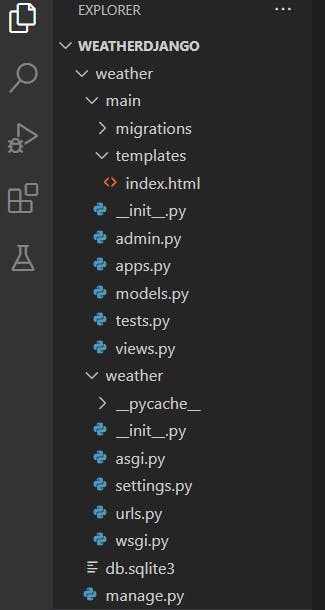
5/ Go to main directory and create 'templates' folder. Inside this folder create 'index.html' file. This file is for displaying the weather data in the frontend. The directory structure will look similar to:
<!DOCTYPE html>
<html lang="en" dir="ltr">

<head>
    <meta charset="utf-8">
    <title>Weather</title>
    <link rel="stylesheet" href="https://maxcdn.bootstrapcdn.com/bootstrap/3.4.0/css/bootstrap.min.css">
    <script src="https://ajax.googleapis.com/ajax/libs/jquery/3.4.1/jquery.min.js"></script>
    <script src="https://maxcdn.bootstrapcdn.com/bootstrap/3.4.0/js/bootstrap.min.js"></script>

    <style>
        body {
            background-color: #D3D3D3;
        }
    </style>

</head>

<body>
    <nav class="row navtitle" style="background: gray; color: white;">
        <h1 class="col text-center">How is the weather? </h1>
    </nav>
    <br />
    <br />
    <center class="row">

        <form method="post" class="col-md-6 col-md-offset-3">
            {% csrf_token %}
            <div class="input-group">
                <input type="text" class="form-control" name="city" placeholder="Search">
                <div class="input-group-btn">
                    <button class="btn btn-default" type="submit"><i class="glyphicon glyphicon-search"></i></button>
                </div>
            </div>
            <form>

    </center>
    <div class="row">
        {% if country_code and coordinate and temp and pressure and humidity %}
        <div class="col-md-6 col-md-offset-3">
            <h3>City : {{city}}</h3>
            <h4>Country code : {{country_code}}</h4>
            <h5>Coordinate : {{coordinate}}</h5>
            <h5>Temperature : {{temp}}</h5>
            <h5>Pressure : {{pressure}} </h5>
            <h5>Humidity : {{humidity}}</h5>
        </div>
        {% endif %}
    </div>
</body>

</html>
6/ Add the app to 'settings.py'

7/ Add urls to 'urls.py' in 'weather' folder. The code is as follows
from django.contrib import admin
from django.urls import path, include

urlpatterns = [
    path('admin/', admin.site.urls),
    path('', include('main.urls')),
]
8/ Create 'urls.py' inside 'main' folder and add the following code to the path to index
from django.urls import path
from . import views

urlpatterns = [
         path('', views.index),
]
9/ Now, create views for the app. Go to 'views.py' file and add index view. We can get an API key from 'openweathermap.org/api'
from django.shortcuts import render
import json  # import json to load json data to python dictionary
import urllib.request  # urllib.request to make a request to api

def index(request):
    if request.method == 'POST':
        city = request.POST['city']

        ''' api key might be expired use your own api_key
            place api_key in place of appid ="your_api_key_here "  '''
        # source contain JSON data from API
        source = urllib.request.urlopen('http://api.openweathermap.org/data/2.5/weather?q=' + city + '&appid=718bfb40fec2a75aee7767677f367613').read()

        # converting JSON data to a dictionary
        list_of_data = json.loads(source)

        # data for variable list_of_data
        data = {
            'city': city,
            "country_code": str(list_of_data['sys']['country']),
            "coordinate": str(list_of_data['coord']['lon']) + ' '
                        + str(list_of_data['coord']['lat']),
            "temp": str(list_of_data['main']['temp']) + 'k',
            "pressure": str(list_of_data['main']['pressure']),
            "humidity": str(list_of_data['main']['humidity']),
        }
        print(data)
    else:
        data ={}
    return render(request, "index.html", data)
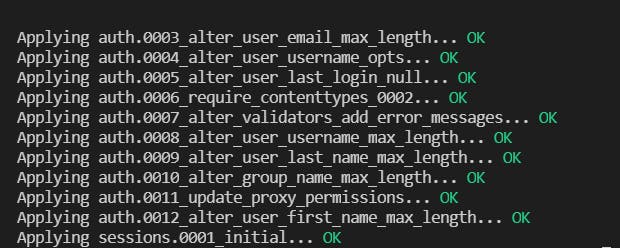
10/ Make migrations and migrate it. This step an optional for this app since we did not make any model. We do migrations in Django when we need to change the configuration of the database. We can do it by typing the command
$ python manage.py makemigrations
$ python manage.py migrate
11/ Run the app
$ python manage.py runserver
- Here is our final result.

GitHub link
Check it on heroku
Reference: weather app using django